How to Contribute
Welcome to the Contributing Guide! 👋
We're excited that you're interested in contributing to the $Li Wiki. This guide will help you get started, regardless of your technical background.
Who Should Read This?
-
Experienced Contributors (Familiar with GitHub and Markdown) If you're familiar with GitHub workflows and Markdown:
- Recommended Action: Open a pull request directly to the repository.
- Important: Please ensure you read the Important Security Notice before contributing.
-
New Contributors (Unfamiliar with GitHub or Markdown) If you're new to GitHub or Markdown:
If you think the guide below is too complicated, don't worry!
You can reach out to the maintainers via Telegram or email. Feel free to write in any language (e.g., Chinese, English, etc.) and in any format (e.g., Markdown, Word, etc.). The maintainers will guide you step-by-step to help you contribute to the Wiki or help you to submit your changes directly.
⚠️ Important Security Notice for Contributors in China
Your safety is our top priority. If you're contributing from mainland China, follow these steps to protect your anonymity and ensure secure participation:
Step 1: Set Up an Anonymous GitHub Account
- Create a new email account using ProtonMail (recommended for privacy)
- Sign up for GitHub using this new anonymous email
- Don't use any personally identifiable information in your GitHub profile
- Enable 2FA for additional security (refer to GitHub's documentation)
Step 2: Configure SSH for Multiple GitHub Accounts (Optional but Recommended)
If you already have a personal GitHub account and want to keep it separate:
- Windows
- macOS
-
Generate a New SSH Key
- Open PowerShell and run:
ssh-keygen -t ed25519 -C "[email protected]" - Save the key to a secure location (e.g.,
C:\Users\YourUsername\.ssh\id_ed25519_anonymous).
- Open PowerShell and run:
-
Update Your SSH Config
- Navigate to the
.sshfolder (e.g.,C:\Users\YourUsername\.ssh) and create or edit aconfigfile. Add the following lines:Host github.com-anonymous
HostName github.com
User git
IdentityFile ~/.ssh/id_ed25519_anonymous
IdentitiesOnly yes - Save the file.
- Navigate to the
-
Add the SSH Key to GitHub
- Copy the new SSH key to your clipboard:
cat ~/.ssh/id_ed25519_anonymous.pub - Open GitHub SSH settings and paste the key.
- Copy the new SSH key to your clipboard:
-
Generate a New SSH Key
- Open Terminal and run:
ssh-keygen -t ed25519 -C "[email protected]" - Save the key as
~/.ssh/id_ed25519_anonymous.
- Open Terminal and run:
-
Update Your SSH Config
- Open or create the
~/.ssh/configfile in a text editor and add the following:Host github.com-anonymous
HostName github.com
User git
IdentityFile ~/.ssh/id_ed25519_anonymous
IdentitiesOnly yes - Save the file.
- Open or create the
-
Add the SSH Key to GitHub
- Copy the new SSH key to your clipboard:
cat ~/.ssh/id_ed25519_anonymous.pub - Open GitHub SSH settings and paste the key.
- Copy the new SSH key to your clipboard:
Step 3: Configure Repository for Anonymous Contributions
-
Clone the Repository Anonymously
- Use the SSH alias you created:
git clone [email protected]:{your-github-username}/{your-forked-repo-name}.git
- Use the SSH alias you created:
-
Set Anonymous Git Commit Information
- Configure Git to use your anonymous identity:
git config user.name "anonymous-contributor"
git config user.email "[email protected]"
- Configure Git to use your anonymous identity:
-
Verify Configuration
- Run the following to check your settings:
git config --get user.name
git config --get user.email
- Run the following to check your settings:
Step 4: Additional Safety Tips
-
Always Use a Reliable VPN
- Use a trusted VPN when accessing GitHub to mask your IP address.
- Ensure the VPN has strong encryption and doesn't log user activity.
-
Avoid Committing Personal Information
- Double-check your commits to ensure no personal or sensitive data is included.
-
Don't Link to Social Media
- Keep your contributions entirely separate from your personal online accounts.
Step-by-Step Guide for New Contributors
This guide walks you through setting up your environment and making your first contribution to the $Li Wiki.
Step 1: Install the Necessary Tools
Before contributing, ensure you have the following tools installed on your computer:
-
Git
- Git is required for version control.
- Download and install it from git-scm.com.
- After installation, verify it by running the following command in your terminal:
git --version
-
VS Code or Cursor
- VS Code: A powerful code editor. Download it from code.visualstudio.com.
- Cursor: AI-powered editor for a streamlined experience. Visit Cursor's website to download and install.
-
Bun (Optional)
- Required if you plan to build and test the site locally.
- Why Bun? Bun is a modern JavaScript runtime that is faster and easier to use compared to Node.js.
- Install Bun by running the following command:
curl -fsSL https://bun.sh/install | bash - After installation, verify it by running:
bun --version - Learn more about Bun at the official Bun documentation.
Step 2: Set Up Your GitHub Account
This section assumes you are new to GitHub. If you're already experienced, you can skip directly to the repository setup.
-
Sign Up or Log In
- If you don't already have a GitHub account, sign up at github.com.
- Use an anonymous email address if contributing from China (see Important Security Notice).
-
Enable Two-Factor Authentication (2FA) (Optional)
- Enhance your account's security by enabling 2FA in your GitHub account settings.
Step 3: Use an SSH Key
This section assumes you are new to GitHub. If you're already experienced, you can skip directly to the repository setup.
SSH keys provide a secure and convenient way to authenticate with GitHub. Follow the steps below based on your operating system:
- Windows
- macOS
Generate an SSH Key
-
Open PowerShell and run the following command:
ssh-keygen -t ed25519 -C "[email protected]"- Replace
[email protected]with the email address linked to your GitHub account. - When prompted, specify the file location to save the key (default:
C:\Users\<YourUsername>\.ssh\id_ed25519). - If asked for a passphrase, press
Enterto leave it blank or enter one for added security.
- Replace
-
Confirm the key files were created by navigating to your
.sshdirectory:dir $HOME\.ssh- You should see
id_ed25519(private key) andid_ed25519.pub(public key).
- You should see
Add the SSH Key to the SSH Agent
- Start the SSH agent:
Start-Service ssh-agent - Add your SSH private key to the agent:
ssh-add $HOME\.ssh\id_ed25519
Add Your SSH Key to GitHub
- Copy your public key to the clipboard:
Get-Content $HOME\.ssh\id_ed25519.pub | clip - Open GitHub SSH settings.
- Click "New SSH Key", provide a title (e.g., "My Laptop"), and paste the key into the provided field.
- Click "Add SSH Key" to save.
Test Your SSH Connection
- Verify your SSH setup:
ssh -T [email protected]- You should see a message:
Hi <username>! You've successfully authenticated, but GitHub does not provide shell access.
- You should see a message:
Generate an SSH Key
-
Open Terminal and run:
ssh-keygen -t ed25519 -C "[email protected]"- Replace
[email protected]with the email address linked to your GitHub account. - Save the key as
~/.ssh/id_ed25519. - If asked for a passphrase, press
Enterto leave it blank or enter one for added security.
- Replace
-
Confirm the key files were created by listing the
.sshdirectory:ls ~/.ssh- You should see
id_ed25519(private key) andid_ed25519.pub(public key).
- You should see
Add the SSH Key to the SSH Agent
- Start the SSH agent:
eval "$(ssh-agent -s)" - Add your SSH private key to the agent:
ssh-add ~/.ssh/id_ed25519
Add Your SSH Key to GitHub
- Copy your public key to the clipboard:
cat ~/.ssh/id_ed25519.pub | pbcopy - Open GitHub SSH settings.
- Click "New SSH Key", provide a title (e.g., "My MacBook"), and paste the key into the provided field.
- Click "Add SSH Key" to save.
Test Your SSH Connection
- Verify your SSH setup:
ssh -T [email protected]- You should see a message:
Hi <username>! You've successfully authenticated, but GitHub does not provide shell access.
- You should see a message:
Step 3: Fork and Clone the Repository
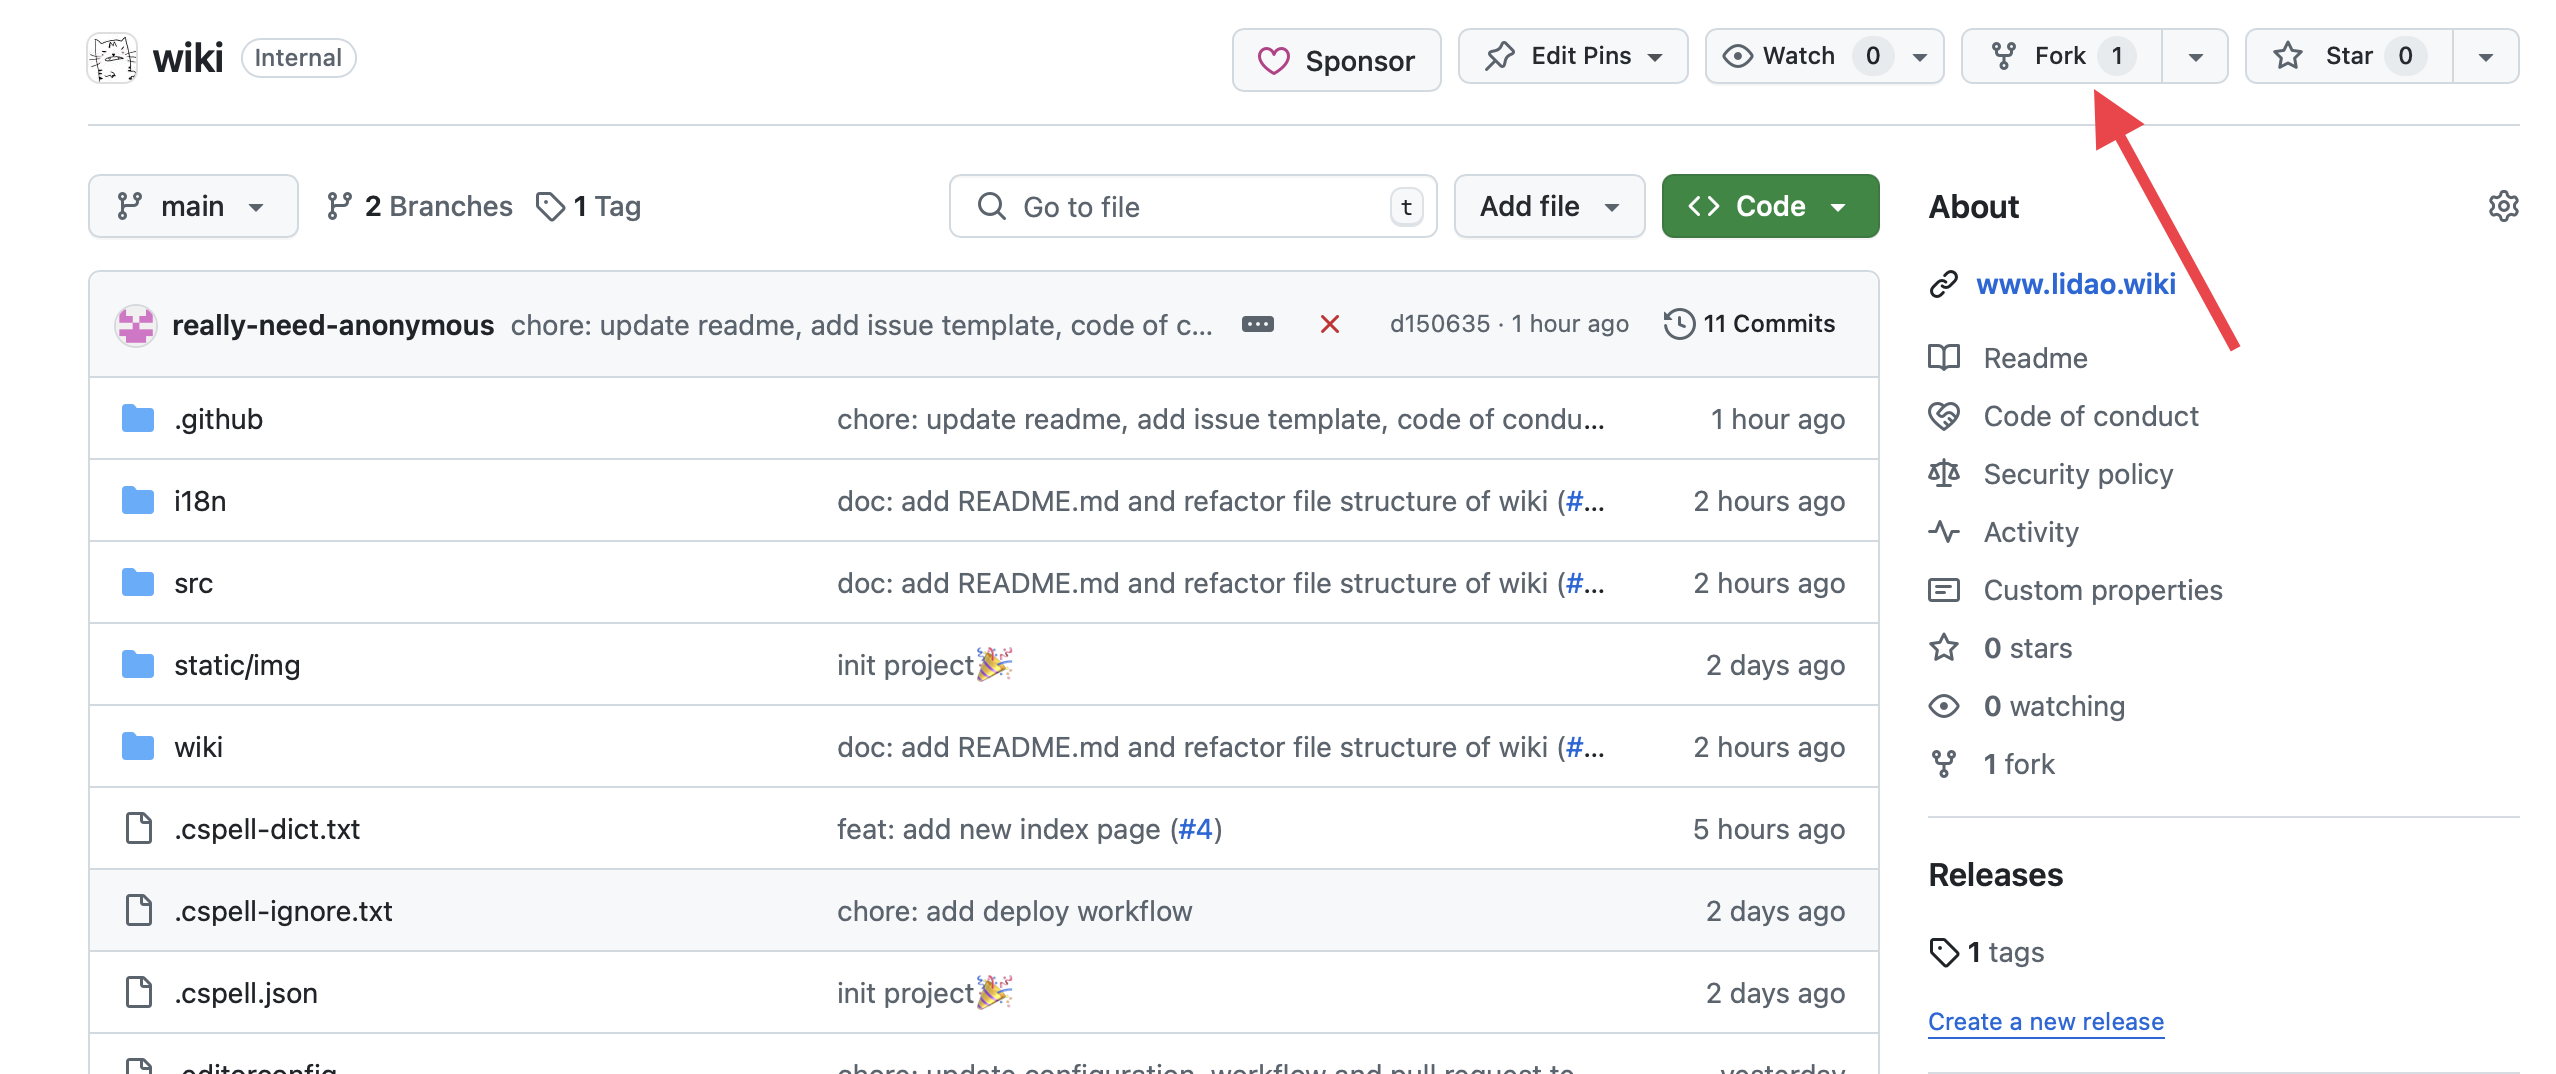
- Fork the Repository
- Navigate to the li-dao/wiki repository.
- Click the "Fork" button in the top-right corner to create a copy of the repository under your GitHub account.
-
Clone Your Fork Locally
- Use Git to clone your fork to your local machine:
git clone [email protected]:<your-username>/wiki.git - Replace
<your-username>with your GitHub username.
- Use Git to clone your fork to your local machine:
-
Navigate to the Project Directory
Step 4: Configure Git
-
Set Up Your User Information
- Configure your Git username and email:
git config user.name "Your Anonymous Name"
git config user.email "[email protected]"
- Configure your Git username and email:
-
Check Your Configuration
- Verify your settings:
git config --list
- Verify your settings:
Step 5: Learn the Grammar of Markdown
Markdown is a lightweight markup language that makes formatting documents simple and efficient. It's widely used on GitHub and in this project.
-
Start with Basic Markdown Syntax
- Learn the basics of Markdown, including headings, lists, links, and code blocks, from the Markdown Guide.
- This guide provides examples and explanations for creating structured, readable documentation.
-
Explore Advanced Markdown Features
- Since this project uses Docusaurus, you can take advantage of its extended Markdown features, such as:
- Embedding tabs
- Including admonitions (alerts and callouts)
- Custom components with MDX
- To dive deeper into these advanced features, visit the Docusaurus Markdown Features Documentation.
- Since this project uses Docusaurus, you can take advantage of its extended Markdown features, such as:
Once you're comfortable with Markdown, you'll be ready to contribute effectively to the $Li Wiki documentation. Let's move to the next step!
Step 6: Make Changes to the Wiki
Now that your environment is set up, you can start making contributions to the Wiki. Here's how to proceed:
Modify Existing Pages
-
Navigate to the
wikifolder in your cloned repository:- The folder contains all the existing documentation files.
-
Open the file you want to edit in VS Code or Cursor:
- Make improvements to the content, such as fixing typos, adding new sections, or updating outdated information.
-
Preview your changes locally (Optional):
- If you've installed Bun or Node.js, you can run the local development server:
bun run start- This will launch the documentation site locally on
http://localhost:3000.
- This will launch the documentation site locally on
- If you've installed Bun or Node.js, you can run the local development server:
-
Save your changes:
- Commit your updates once you're satisfied with the edits (instructions in Step 7).
Add New Pages
-
Create a New Markdown File
- Add a
.mdor.mdx(for advanced features) file in the appropriate folder underwiki. - For example, to create a new guide, place it in the
docsfolder.
- Add a
-
Register the Page in the Sidebar
- Open
src/sidebars.tsin the root directory. - Add an entry for your new page under the appropriate section. For example:
{
  type: 'doc',
  id: 'your-new-page-id',
}- Replace
your-new-page-idwith the file name (excluding the.mdxextension).
- Replace
- Open
-
Preview Locally
- Run the development server to verify that your new page is rendered correctly:
bun run start
- Run the development server to verify that your new page is rendered correctly:
Set Up Multi-Language Support
If you want to make your contribution multilingual:
-
Navigate to the
i18nfolder:- This folder contains translations for different languages.
-
Add translations for your content:
- Create a subfolder for the language (if it doesn't already exist), such as
i18n/zh-CNfor Simplified Chinese.
- Create a subfolder for the language (if it doesn't already exist), such as
-
Copy the content of your
.mdxfile into the language-specific folder:- Translate the content into the target language.
-
Test the multilingual feature:
- Build the site and check if the translations are displayed correctly.
- Note: use
bun run startwill not work for multi-language support, you need to usebun run buildand thenbun run serveto see the changes.
Write in Any Language
- You can choose to write your contributions in any language you're comfortable with.
- After submission, the maintainers will review your changes and coordinate translations into other languages.
Step 7: Submit Your Changes
Now that you've made changes to the Wiki, it's time to submit them to the main repository. Follow this guide to share your contributions:
For Beginners: Simple Guide
-
Stage Your Changes
- Add the files you modified to the staging area:
git add .
- Add the files you modified to the staging area:
-
Commit Your Changes
- Save your changes with a descriptive commit message:
git commit -m "Add new page for contributing guide"
- Save your changes with a descriptive commit message:
-
Push Your Changes
- Push your changes to your forked repository:
git push -u origin main
- Push your changes to your forked repository:
-
Open a Pull Request
- Go to your forked repository on GitHub.
- Click the "Compare & pull request" button.
- Add a meaningful title and description for your pull request.
- Submit your pull request to the main repository.
For Advanced Users: Git Tutorial Links
-
Learn the Basics of Git: Visit Git - Getting Started to learn foundational concepts.
-
GitHub-Specific Workflow: Check out GitHub's How to Create a Pull Request.
-
Understand Branching and Merging: Explore Git's Branching and Merging tutorial.
What Happens Next?
-
Review by Maintainers
- Your pull request will be reviewed by the maintainers. They may ask for changes or provide feedback.
-
Merge into the Main Repository
- Once approved, your pull request will be merged, and your contributions will be part of the Wiki! 🎉
-
Celebrate Your Contribution
- You're officially a contributor to the $Li Wiki. Thank you for your efforts!
Congratulations! 🎉
You're officially a contributor to the $Li Wiki. Thank you for your efforts!